Placing Artificial Grass On A Surface
In this article we explain how to place the artificial grass, and give you detailed information on how to work the joints and adjust the grass on different landscapes.
Tips before placing the artificial grass
Before you begin, we recommend you to keep these two tips in mind:
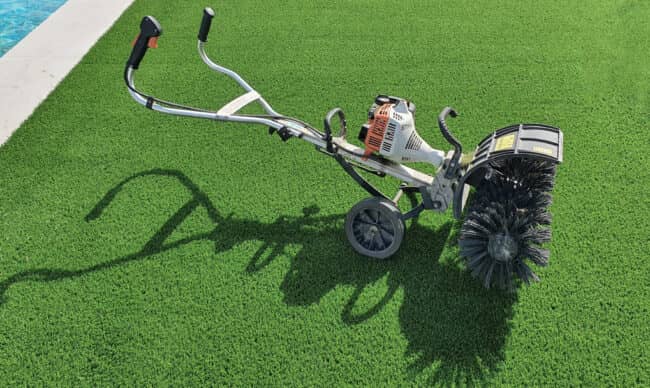
1. Use a sweeper or brusher with rigid plastic bristles.
Once the grass is unrolled, use a brush to help lift the fiber which will help in the filling process. It’s a very simple process, as easy as vacuuming.
Once the grass is installed, brush it again to get the best results.
A brusher is an excellent tool for further maintenance of the grass, as it will help remove any remaining dirt that may be left. It will also help lift any worn out fibers, leaving it in perfect shape.
It’s very important that you always use synthetic bristle brushes, never use brushes with metal or wire bristles. The use of the latter could damage the grass fibers and lose any warranty.

2. Begin by cutting the leftover sides of the backing of the left and right edges of each piece or rolls of grass, this part is usually called the edge.
How to cut the sides of your artificial grass?
Before making any cuts, check the backing to verify that the last strips of stitches are well covered with latex.
If any area of the strips the stitches are not coated, cut that strip too. Uncoated spots can be easily released from the grass, causing the joint to be somewhat weak or visible, which can result in a failed installation.
Currently, many artificial grass types have two different heights and hair textures. This may require you to cut several strips off the sides in order to make the joints correctly. You can test it a couple of times until you figure out what´s the best way to do the joints.
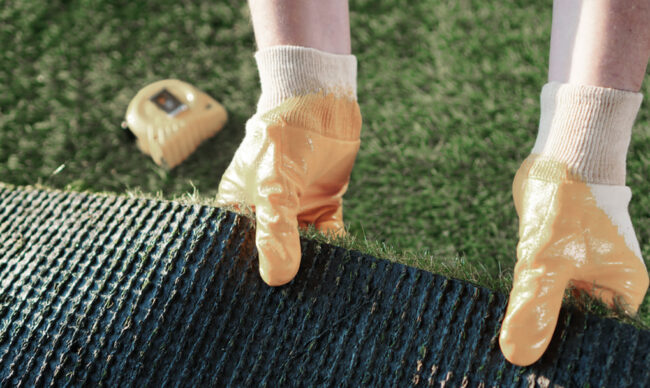
Place the grass upside down to cut the edges with a sharp blade.
You may now check that the crossed cuts are placed straight with the area where it stops, either a wall, curb, etc. Uneven crossed cuts may leave poorly finished joints. Trim any edges that may not be well cut before finishing the joints.

Placing the artificial grass
Finally the time to place the grass carpet in your garden has come. We recommend you to follow these steps:
1. First, place the largest piece of artificial grass. Make any necessary adjustments in order to optimize the materials.
2. Check the direction of the fibers and make sure you get the color you want.
3. Place the next largest piece of grass, and so on.
4. Check and make sure that the direction of the fibers is the same in all the pieces you are placing.
The direction of the grass hair may affect the color tone, depending from where the person is looking at it. Our advice to get the best color tone is the following:
- To get the most intense color in your front yard or garden, facing the outer side of the garden: direct the hair towards the outside, whether it´s a street or a parking lot.
- To enhance the most intense color in a backyard of the house: direct the hair towards the entrance of the garden from the house, or to the area from which you would normally look at the garden, which may be sofas, a table with chairs, etc.
Sometimes the grass pieces we buy are too big to work with. Don´t hesitate to cut and remove any leftover parts, or bend the parts you don´t need in order to leave enough space to work around it comfortably.
Recommendations for putting the pieces together
When different pieces or rolls of material are used in an artificial grass installation, it’s necessary to join the seams together perfectly. In order to achieve this:
- Make clean and straight cuts to the grass so the edges can be joined easily.
- Use tools that help you make those straight cuts.
- Keep your blade sharp at all times.
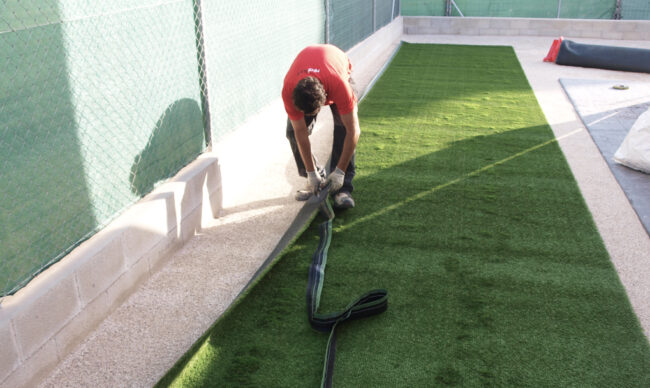
- Place the parts to be joined at the same distance, use the row of stitches as a reference point.
- Always join the two larger grass pieces first, then continue to join the pieces in order by size.
- Do all the parallel joints first and then any crossed or horizontal joints. By doing this, you will make sure that your installation is even and all the pieces are aligned so that the joints are not visible.
- If it’s done correctly, the joints will not be visible when you brush the hair and fill the lawn with silica sand.
- If there are any visible joints, you can redo it again before putting any filling.
- Always use the appropriate materials to work the joints. This will help to avoid the growth of weeds as well as provide horizontal stability in the joints. We recommend the use of polyurethane adhesives and bonding tape.
- Sometimes cold or humid weather can cause some resistance to the adhesives. In that case you can also use U-shaped picks. On a regular garden you can use 3.5 inches coated nails placed every 4 – 6 inches on each side of the joints.
- You can also use these picks to anchor the perimeter of the installation.
- In areas where there are 5-10 degrees slopes, use larger picks.
Cutting and adjusting the artificial grass
Here are a series of tips on how to finish the straight and curved edges of an installation:
Straight edges
- Once the joints are finished, you have to adjust the artificial grass to the edges of the installation.
- Never cut the edges before finishing the joints. If you do this, you may have to move the grass leaving bald spots on the installation.
- You can use a highlighter or wax to mark the backing of the piece where you have to cut. We recommend that you cut the grass from the back. Turn the piece to see the backing, mark it and cut little by little, checking that you are cutting correctly.

Round or curved edges
- When cutting edges with curved or round shapes, always leave an extra piece of grass on each edge so that you can adjust it as you cut.
- Make a few clean cuts in the grass to make the installation look perfect.
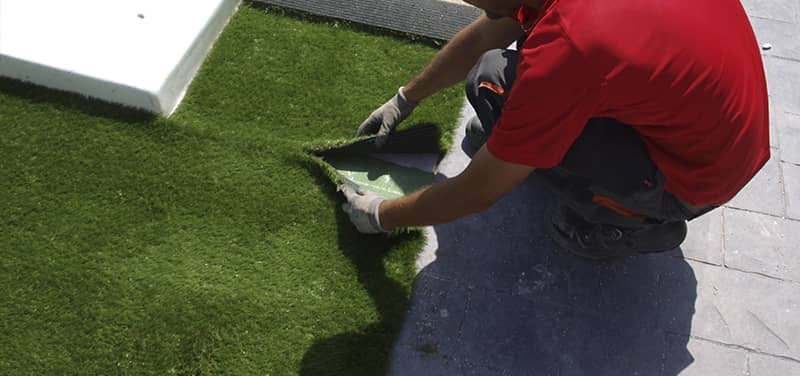
If you have to make a hole in the middle of the grass surface, you must act carefully. To do this, mark a central point and cut as if you were cutting a slice of pizza. Do not make the cut any longer than you need. If this happens before you know it, you can always glue it back together. Try cutting rows between the stitches and do not damage the hair.
To make cuts parallel to a wall, curb, etc. begin by bending the end of the grass against the spot to which it must be attached. Cut the piece through the backing.
Those are our recommendations on placing the artificial grass in your garden. If you have any questions, you may always contact professionals.
In our next post, we will explain how to fill the artificial grass and will also give you some tips on how to finish your installation.
Don’t miss it! Your installation will look amazing!

