Installing Artificial Turf: Step By Step
You should have a planning process before you begin an artificial turf installation. Here are several important steps to follow in the process of installation:
Step 1. Prepare the area and materials.
Check the area where you will install the artificial turf and its surroundings visually. Planning in advance will make the installation process simple. Clean the area where you will be working and decide what tools you will need. Next clear a small area to access the area where you will work.
Step 2. Excavation.
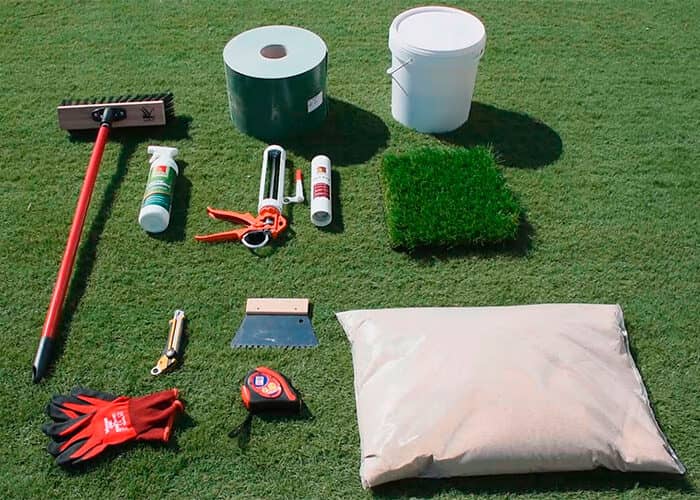
You will need hand tools to work in small areas during the excavation process. You can use a grass trimmer to clean the area and clear out any roots that may be there.
Step 3. Define the perimeter.
Now is the time to make any necessary changes in the irrigation, drainage system, or any other elements on the area. You must remove any irrigation, gas, electric or telephone installations whenever possible.
Step 4. Place a weedblock fabric.
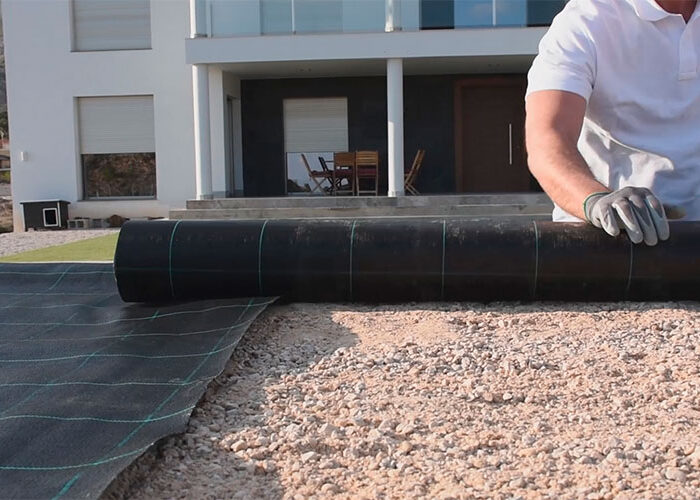
The weedblock or non-woven fabric improves the structutral integrity of the installation. It gives stability and enhanced durability to the installation. A weedblock fabric of 2 to 6 mm (is the ideal one to protect the installation from the growh of roots and even pests or rodents. There are different types of weedblock fabrics to choose from.
Step 5. Base Installation.
To get the best results, start at the back. Lay 7.5 to 10 cm (3 to 4 inches) of compacted material mixed with rocks of 1.5 to 2 cm (½ to 0.8 inches)and thinner ones. Lay the material in horizontally in layers, and avoid placing any heavy loads on the base before compacting.
Step 6. Compacting the base.
The base must be smooth and even with well defined edges. You’ll need to press by hand a roller filled with water to compact the base quickly. All the edges must be clear of rocks and debris.
Step 7. Measuring, laying and setting the new artificial grass.
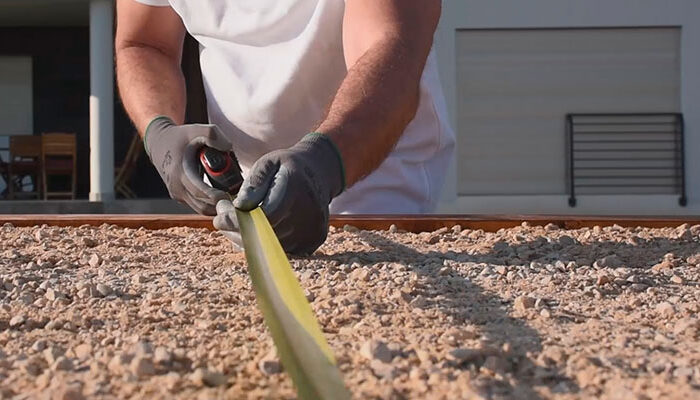
Make sure you have the design of your installation is well defined and clear. Check the installation surface and measure several times. Roll out the artificial grass on a flat surface. If you see any wrinkles or creases on the grass, leave it flat on the surface for a few hours. Measure and cut the largest piece of grass you’ll need. Cut any fringes around the piece of grass. Re-roll the artificial grass and save for installation.
Step 8. Lay out the grass and trim the edges.
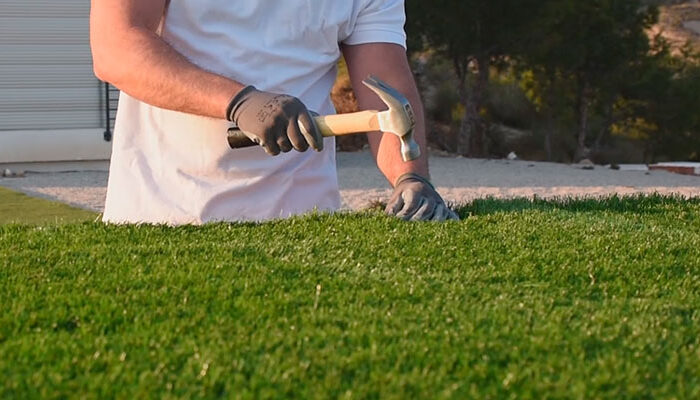
Walk carefully over the grass to avoid moving it. Anchor the edges with nails or staples of 8 to 13 cm (3 to 5 inches). Make sure the cutter blades are sharp and make very precise, clean cuts. The artificial grass should be cut at a distance of 0.6 to 0.7 cm (¼ inch) from walls, sidewalks or any other elements.
Step 9. Secure the edges and tidy up the surface.
You can avoid the change of shape of the materials due to weather changes by anchoring the perimeter of the artificial grass with 12 cm (5 inches) nails. The best way to secure the perimeter is to anchor it to a flexible material such as bender board. Next clean any fiber debris that may have fallen during the installation process. You can now brush the artificial grass to restore the fiber to its upright shape and sweep the area.
Step 10. Infill and finish.
You’ll need your infill materials, hand tools and a drop spreader. The drop spreader is a key element to make sure the infill is installed evenly. Make sure you go slowly and don’t overlap the rows while the dropping the infill. Use a stiff synthetic push broom or a carpet rake to sweep and pull up the fiber blades. This will also help to distribute the infill material evenly and deep into the artificial grass. Do all the necessary finishing touches by hand, especially around the edges.
All these steps will help you make your artificial grass installation look beautiful. Below we give you a link of a video of how to install artificial grass on the ground.
If you prefer to spend your free time in other activities, do not hesitate and call a professional installer.

