


How to install artificial turf on ground
Installing artificial turf on land is easier than you think. Installation does not require very technical knowledge or hard-to-get tools. If you want a professional result contact us, we will take care of the installation of the artificial turf on the ground.
If you decide to make your own installation, from Realturf we teach you step by step how to install artificial grass on land in a simple and fast way.

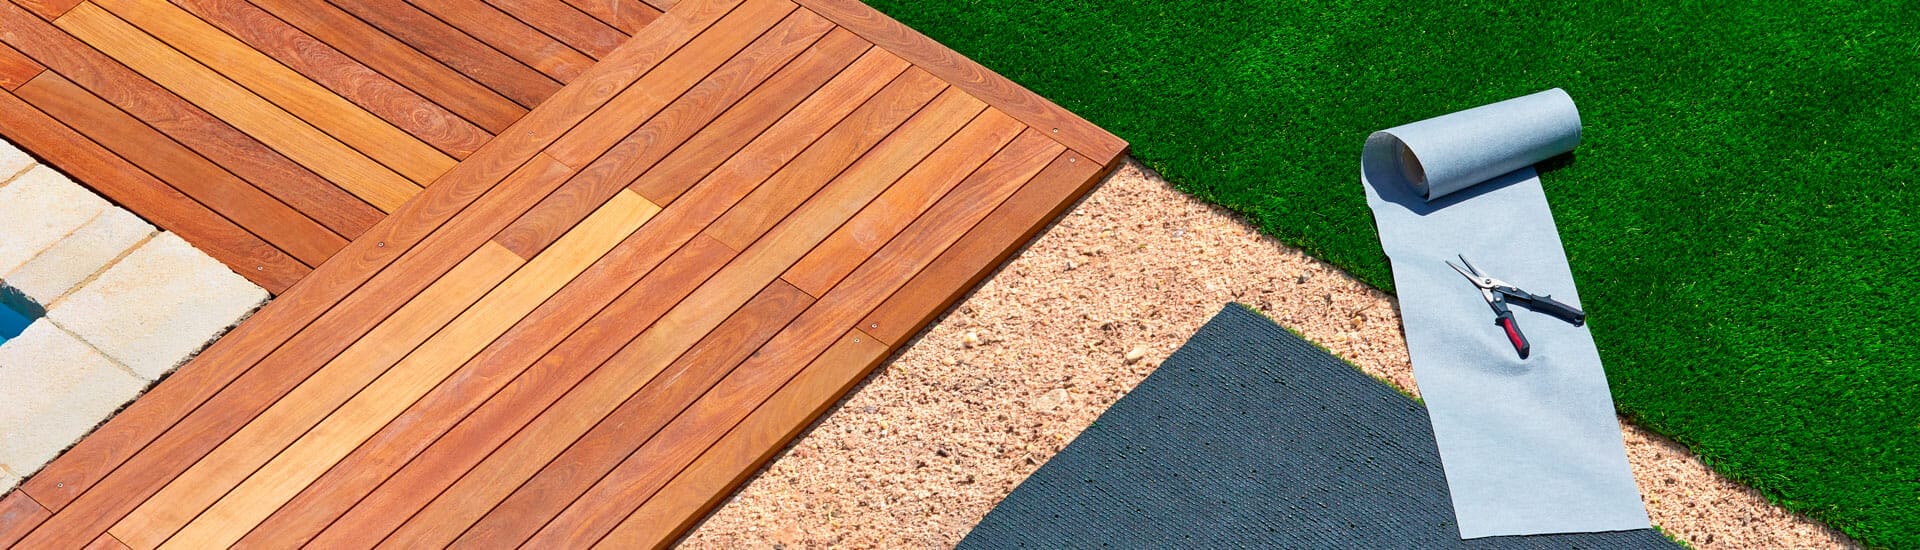
Tools And Materials Need for instalation
- Metro
- Cutter
- Safety Gloves
- Anti-weed mesh
- Nails or staples
- Herbicide
- Artificial turf
- Bonding strip or self-adhesive strip
- Special adhesive for artificial grass
- Serrated blade
- Adhesive applicator
- Silica sand or Petfill
- Hard bristle brush
- Realsmell Enzymatic Cleaner

Step 1
Measure and prepare the surface
The first thing you should know, even before buying our artificial turf, are the measurements of the surface where it will be installed. It’s important to measure and plan the layout of the installation, so that you can buy the correct quantity of meters that you will need.
It’s very important to take into account that the artificial grass is stored and distributed in rolls of 2 or 4 meters, so that you can be ready for any alterations or cuts that may be needed for your installation.
The good planning of these alterations can save you a lot of money when purchasing your artificial grass. The installation will be easier and the look of the final installation will be much better by minimizing the number of joints.
It is also important to level the ground on which it will be installed so that there are no lumps or irregularities. In order to do this, you must:
- Remove any irregular particles from the surface, such as any remaining plants or stones since this can alter the final look of the installation.
- Apply a weed killer to prevent any vegetation from growing back around the perimeter of the installation.
- Finally, level the surface by applying and compacting the sand and gravel, which will also improve the draining of the installation.

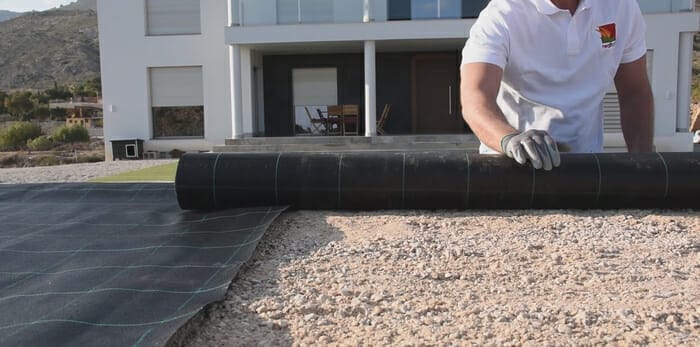
Step 2
Cover the surface with a weed block fabric
The weed block fabric is necessary to prevent the growth of weeds that can deteriorate the appearance of our facility.
You will spread it on the surface overlapping it about 10 cm in the joints and attach it to each meter with nails to the ground.
At the perimeter of the installation, you will trim the leftover material or fold it under before setting it under the installation and then glue all the joints.
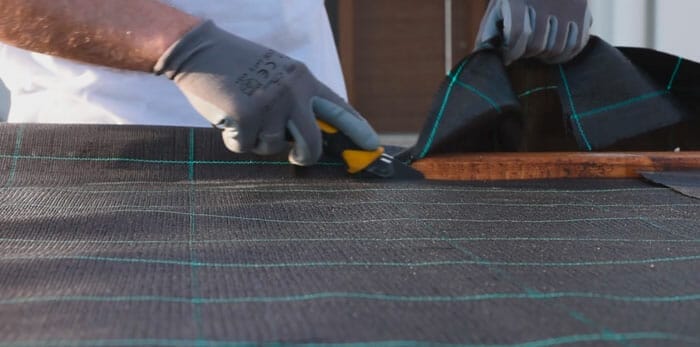
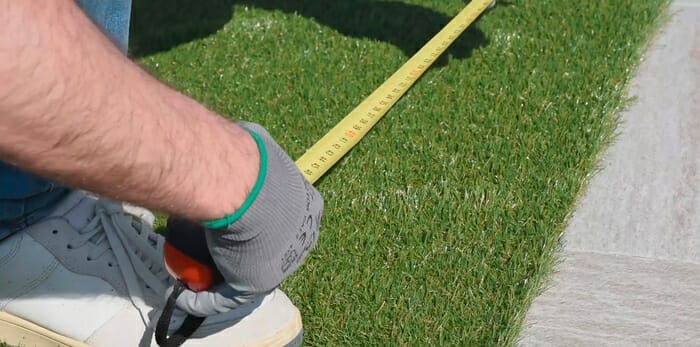
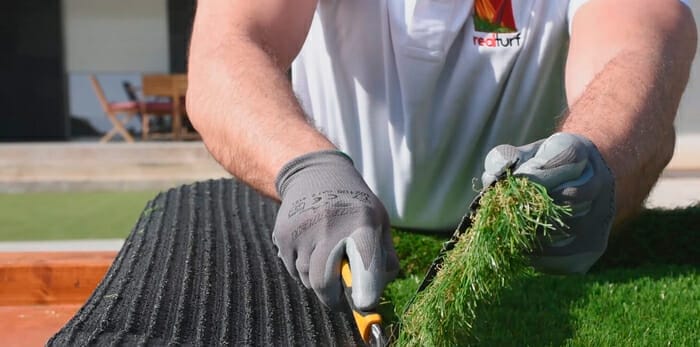
Step 3
Measuring and Cutting artificial grass
As mentioned above, artificial grass is stored in rolls of 2 or 4 meters, so you must measure and plan very well the layout of the lawn to use the correct amount of material.
Our team can help you calculate the amount of material needed, which will make it easier for you to cut to size, as it is not as simple as it might seem at first.
It’s very important to cut the artificial grass, starting at the base, with a cutter, and always wear safety gloves to avoid any possible accidents.
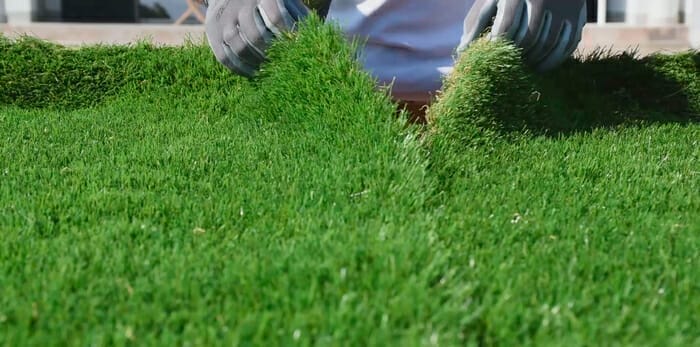
Step 4
Roll out the artificial grass on the surface
The lawn comes in rolls, so the grass fibers are always turned to one side. You will have to roll out the lawn according to the initial planning and always on the same side, because if you roll it out in different directions the surface will be uneven.
Step 5
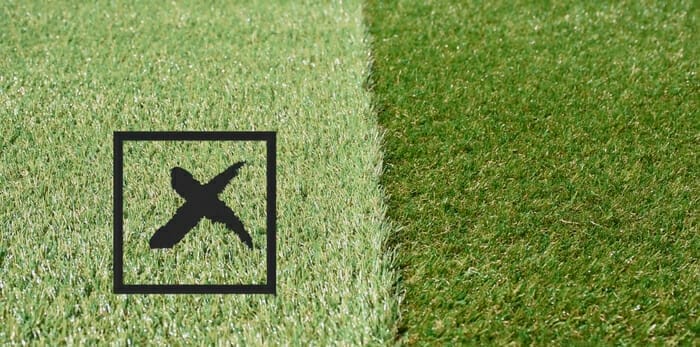
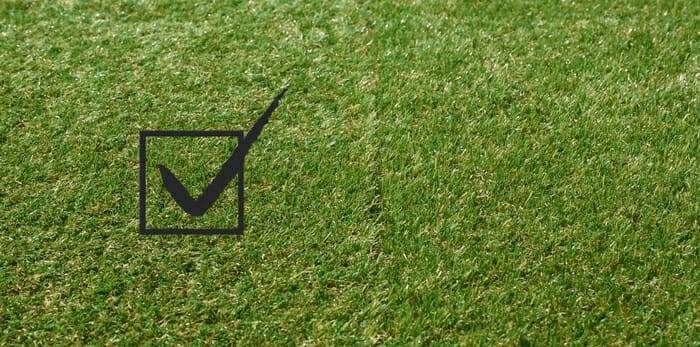
Clean the joints
After you roll out the artificial grass, you will clean the joints so that they are straight and even. In case there are any barriers or obstacles on the way, you will cut the areas around it and make sure you don’t cut too much to avoid any mistakes.
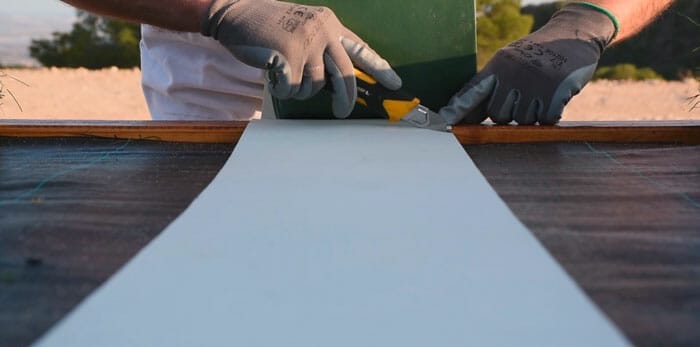
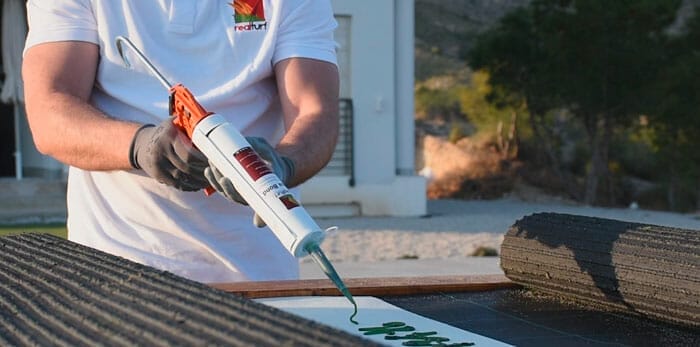
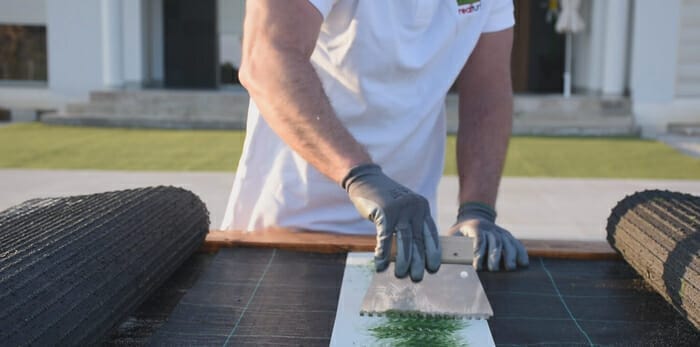
Step 6
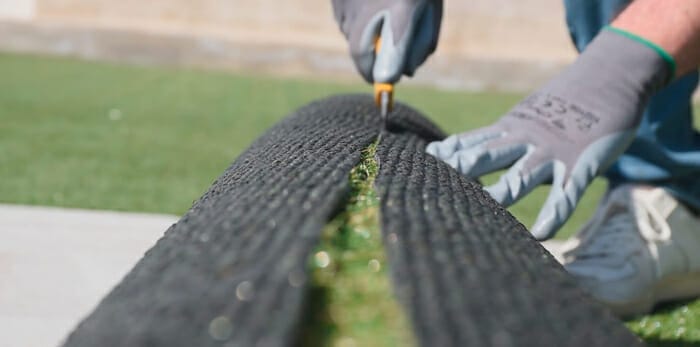
Put the seaming tape
Lift the edges of the joints and place the seaming tape underneath. With the glue applicator place adhesive on the seaming tape and spread it with the serrated shovel. Then, carefully make sure that the fibers are not glued to the tape and place the edges of the joint on the tape, pressing lightly so that they stick together perfectly.
You can also use the self-adhesive seaming tape which is a faster choice.
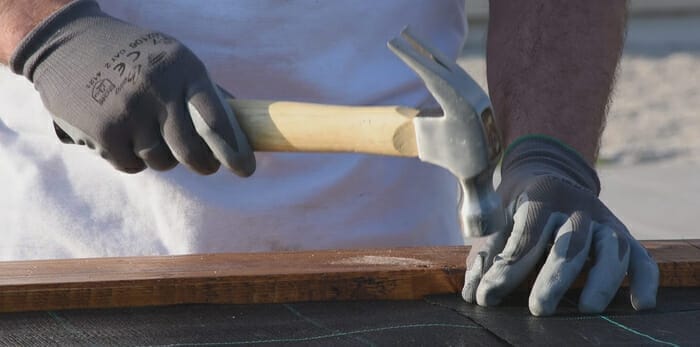
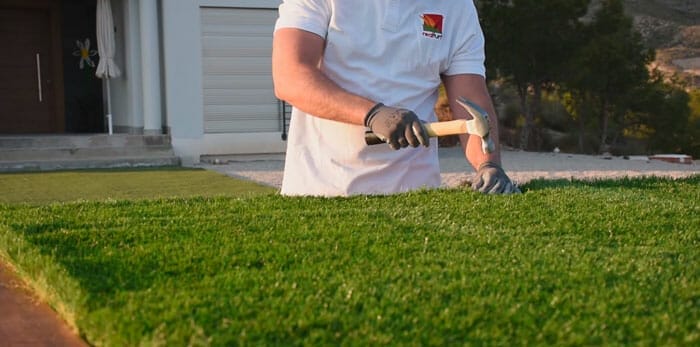
Step 7
Setting the installation
To prevent the lawn from moving and shifting, you will fasten the installation to each meter, especially at the joints and the perimeter area.

Step 8
Refill with silica sand
Refilling with silica sand is optional, but it can help artificial grass stay cool and gives greater comfort when you step on it.
Silica sand also helps the installation to settle better. It also makes the artificial grass look in perfect condition for a longer period of time, as it helps the fiber recovery process.
If you have pets that will be using the installations, we recommend the use of our special filling Petfill, which helps the elimination of unpleasant smells.

Step 9
Refill with silica sand
Because the fiber has been stored in rolls, the hair of the fiber will more than likely wrinkled up in some areas. This problem can be solved by brushing the lawn with a push broom that will make the fiber recover its natural look, allowing for an even distribution of the silica filling.
It´s better to brush the lawn when it´s hot, after being exposed to the sun for a while. This makes the fiber more manageable and easier to recover its natural upright look again.

Step 10
Water the lawn and apply Realsmell
Finally, we recommend watering the artificial grass to clean any possible debris or foreign matter that remain on the surface after the installation. Then you can spray it with our enzymatic cleaner Realsmell, which will provide a freshly cut grass smell and provide your artificial grass with bactericidal and antistatic properties.
