Preparing the surface before installing artificial turf is a simple process if you follow a few simple guidelines.
In this article, we’ll explain why the use of weed-block fabrics in artificial grass installations is so important. We’ll give you a few steps to follow for installations with round, rolled edges and for standard basic installations as well.
Characteristics and use of weed block fabrics:
Any garden or landscape installation needs a layer of weed-block fabric on top of the natural ground. This will allow us to separate the layers of the newly added material from the natural or native ground and will also prevent the spread of any possible pests that may appear.
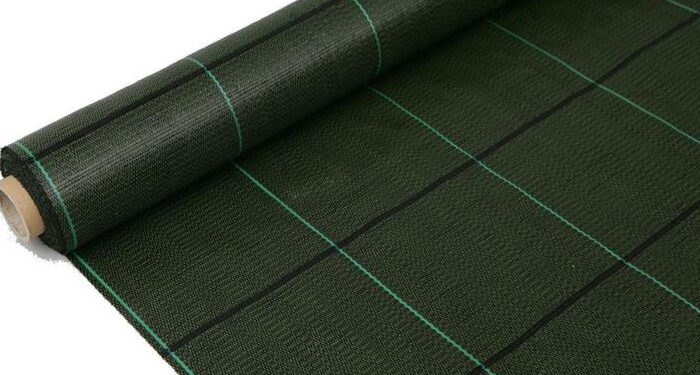
There are different types of weed-block fabrics, but a porous fabric of 1/4 lb is a good choice. Choose the best option for your installation from the following:
1. Woven fabric:
These are fabrics made with very resistant polypropylene. There are different colors, so you can choose the fabric that matches the area perfectly. It should be taken into consideration that the edges of this fabric fray; they are much more difficult to cover. It is important to highlight that woven fabrics are not recommended for narrow spaces. Within these fabrics, we can choose between those that are intended for gardening, which are the fabrics of 105 grams per square meter. On the other hand, the fabrics intended for restoration purposes are of 0.027 pounds per square foot.
2. Non-woven fabric:
This fabric is easier to cut, place, and decorate because it is more stable and slides less. They are used to prevent the growth of weeds with very aggressive roots, which is the case of asparagaceae and ciperaceas species. The basic principle of both fabrics is the same: to avoid the emergence of weeds. In this case, the
Preparing the surface before installing artificial turf is a simple process if you follow a few simple guidelines.
In this article, we’ll explain why the use of weed block fabrics in artificial grass installations is so important. We’ll give you a few steps to follow for installations with round, rolled edges and for standard, basic installations as well.
Why you should use a weed-block fabric:
- You will not need anything else to finish off the edges with bender boards on the installation.
- It provides horizontal and vertical stability to the base of the installation.
- It controls erosion, contamination, and the blending of the base materials.
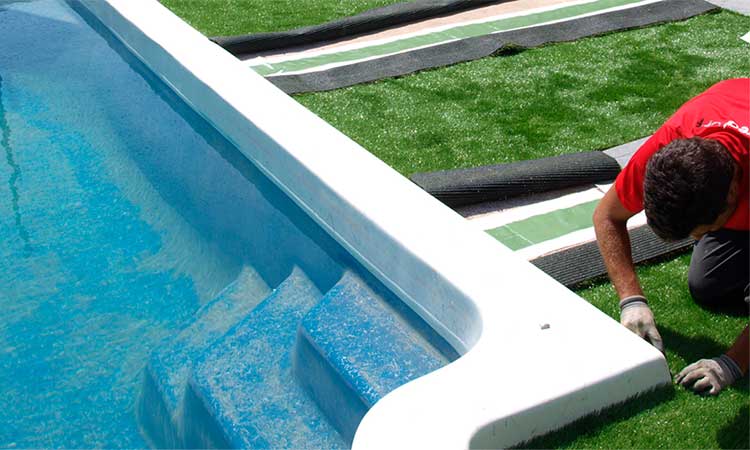
Installation with a round, rolled-edge design:
When we install round, rolled-edge designs, it is important to lay down two layers of weed-block fabrics on the natural or native ground.
- The bottom layer can be larger than the perimeter of your installation. This will serve as a barrier for weeds, insects, and any pests. Since this layer is wider, this will help to keep the added materials within the designed radius.
- Laying a second layer of weed-block fabric will roll up the edges, providing stability. It will also act as a barrier between your new artificial grass surface and the organic garden elements, keeping garden pests away.
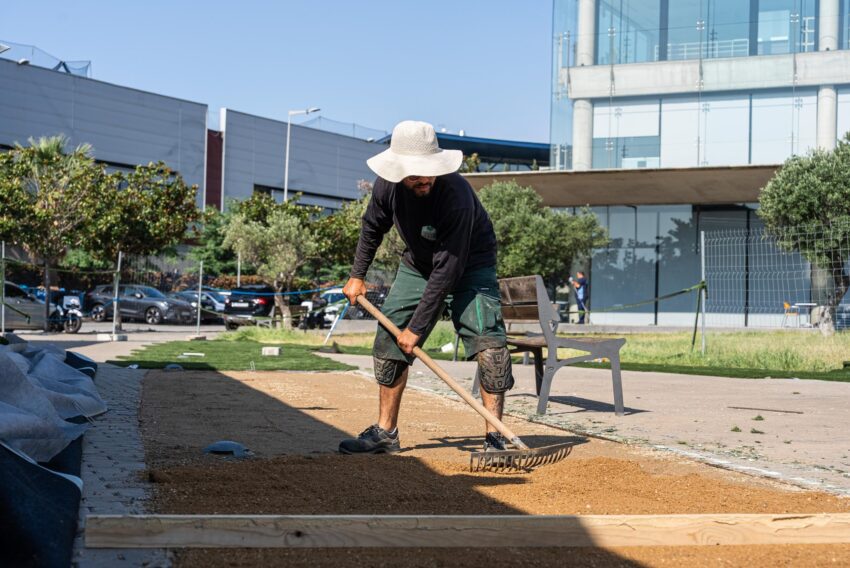
- After adding the base materials and compacting them in the central area of the installation, tamp by hand and shape the edges.
- The compacted edges should be at least 5 cm. (2 inches) high. The base can be any height; however, we recommend at least around 4 inches of compacted base.
- It is easier to work with small aggregate materials, ½ to ¾ inch, especially to create smooth, curved, or round edges.
- If you need larger base material for the central area of your installation, you can mix the base materials with the ones on the outer perimeter’s edge. Tamp down the areas where the different materials join to ensure compaction and a smooth transition.
- Take the second weed-block fabric and pull it to cover the edges of the compacted base material. Use your hands or a mold to shape the round edges.
- Next, staple the second weed-block fabric to the base under the edges of the artificial grass. Be careful when stapling or nailing the fabric so no dents are created on the base.
- Lay the artificial grass over the edges created in the previous step and cut the grass along the edge. Make sure you leave an extra 1/2 to 1 inch of artificial grass at the edges. Roll the extra artificial grass under the base materials, so it won’t be seen.
- Secure the grass, the weed-block fabric, and base materials together with nails at 6 inch intervals. Pay special attention to the edges, tamping or even using a special roller, if necessary.
- Make sure not to put too much material under the edges to avoid air pockets and an uneven surface.
- Wait until you have finished all the seams and infilled the area, before filling the edges of the installation with rocks, soils or any other materials you want.
- Once you have finished, remove any remaining infill materials. Then finish the installation by filling from the inner to the outer edges.
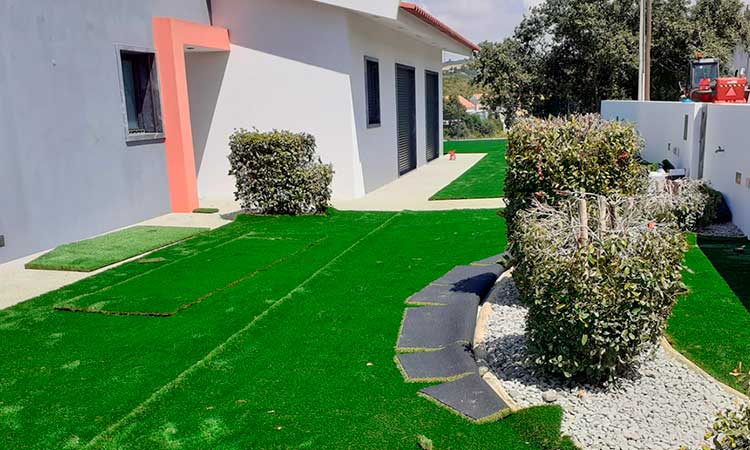
Artificial grass standard installation guidelines
Following is a series of steps to follow in artificial grass installation using a grass height of 5 cm (2 inches). For other types of sports facilities, such as putting greens, there are other guidelines to be followed.
The quality and design desired in our installation will determine the need to excavate, the necessary slopes, and if it’s necessary to build a retaining wall.
Before you begin, make any necessary changes to drainage, irrigation, electric, water, and gas facilities. Make sure these systems are in an accessible place without disturbing the artificial grass installation.
All the decoration or landscape elements, such as trees, gardens, pools, lights, fountains, etc., should be in place before starting the installation of the artificial grass.
Installation start and preparation of the area: steps to follow
When the perimeter of the area where you are going to install is not defined by any type of hard edges:
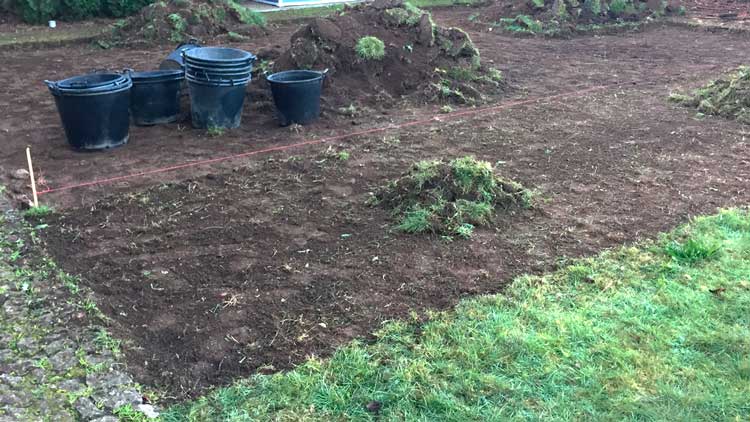
- Start by marking the outer perimeter with paint, stakes, or tape. This will define the perimeter edges for the preparation and installation of materials.
- Remove any possible remains or organic materials in your work area. These remains could decompose over time and damage your installation. These organic materials include natural grass, weeds, roots, etc.
- If you have removed any trees, fill and compact the remaining gaps before you start.
- If you have recently added soil, make sure the sub-surfaces are even and compacted before you start.
- It is important to clean the installation area after each step to protect your installation against contamination with unwanted materials.
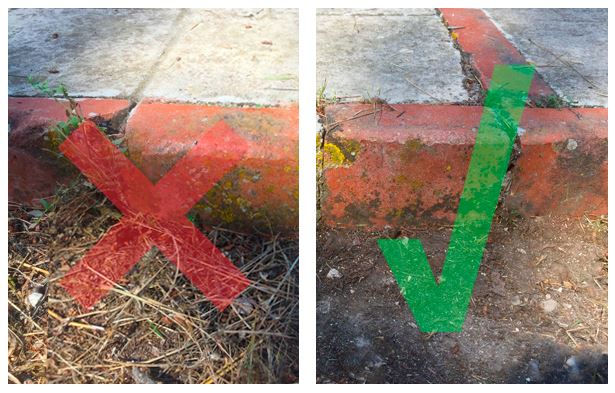
If the area is defined by any hard edges:
- Make sure the hard edges are 3 to 4 inches tall. All roots, weeds, or any debris must be removed.
- The area may need treatment against future weed growth. You can use a herbicide.
- The surface should be leveled. There should be at least a 90-degree angle between the native soil and the hard edges.
- Next, lay the weed-block fabric that’s best for your installation on the native soil. Secure the fabrics to the ground with stainless staples or galvanized nails. Any type of non-organic, porous weed-block fabric will do the job.
As we have seen, the weed-block fabric will prevent the natural soil from getting mixed with the new base materials. It will also make the installation more stable, increase the weight-bearing capacity, and prevent the spread of pests or rodents.
The weed-block fabric should cover the entire installation area and extend beyond the outer perimeter by 4 to 6 inches. The extra material will be folded over the base at the edges to prevent the spread of roots and pests.
Make sure there are no wrinkles left on the weed-block fabric and that the water drains downwards over the materials.
Some installations have a design that may require a drainage system with more than one weed-block fabric, but a basic installation requires only one fabric.
Fabrics provide horizontal stability and can last for more than 15 years, with some fabrics lasting as long as 40 years.
If your installation will bear heavy loads, such as parking areas, always use the appropriate construction materials. You may consult local engineers or authorities for the correct standards.